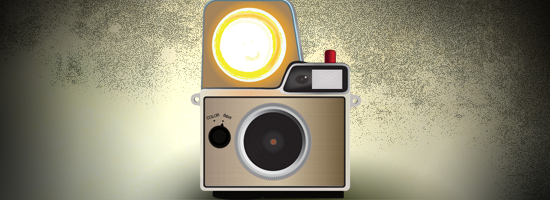
For this tutorial, we’re going to place you in a time machine and take you back to the 1960s to create a vintage camera. Based on the structure of the Ansco Cadet II, you will get a crash course in Illustrator. Let’s get started!
The latest version of Adobe Illustrator (CS5) was used to create this vintage camera, but it is not limited to only that version of Illustrator. CS3 and CS4 versions may also be applicable.
The artboard dimensions are set to 550px width by 500px height.
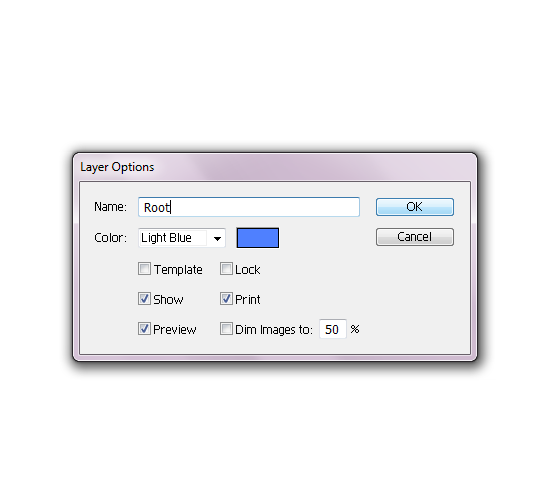
In the layer box, double-click on Layer 1 to open the Layer Options. Rename the layer from Layer 1 to Root and keep the current layer color.
Preset the Fill (X) color to #0B0907 with no Stroke (X) color.
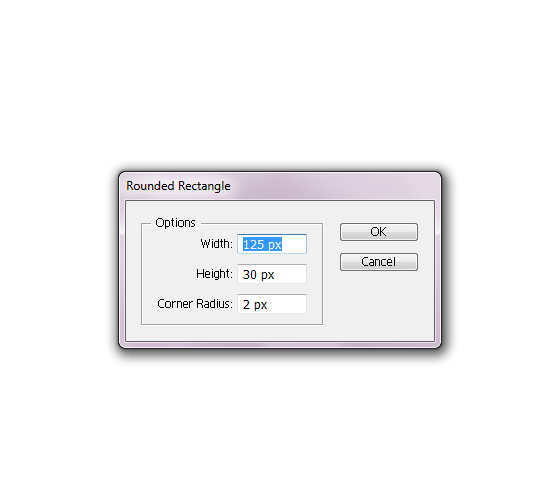
Select the Rounded Rectangular Tool. Click on the Artboard to open the options box. Set width to 125px, height to 30px, and corner-radius to 2px.
Select the Pen Tool (P), and add an anchor to the middle-bottom of the Rounded Rectangular. Using the Direct Selection Tool (A), bring down the anchor approximately 3px.
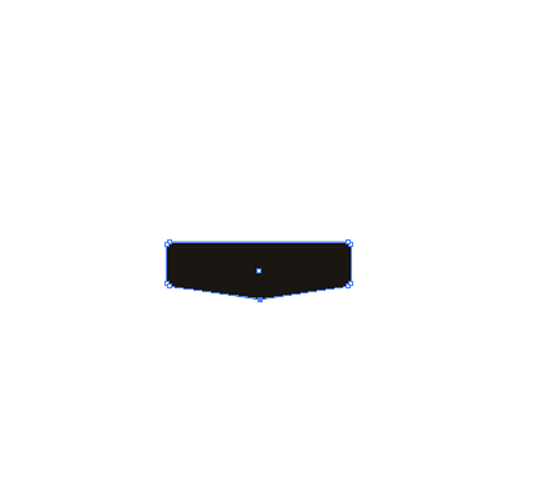
Select the Convert Anchor Point Tool (Shift+C), move the anchor out horizontally to add more of a rounded bottom.
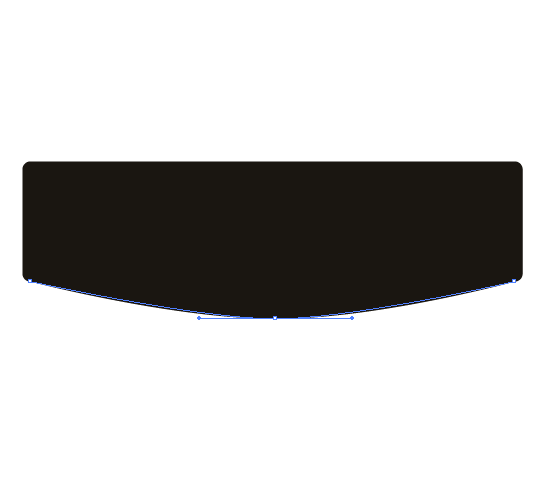
Using the Direct Selection Tool (A), smooth out the corners.
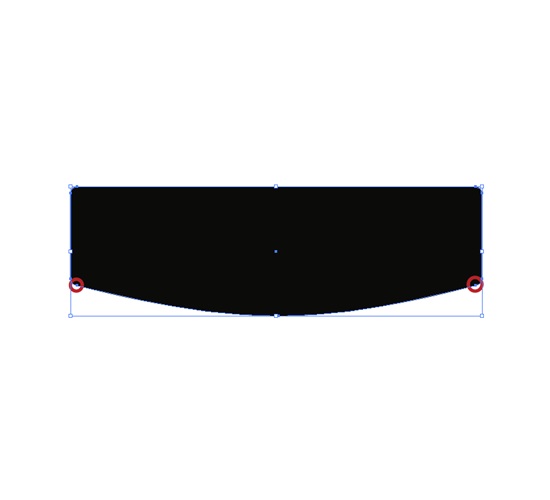
With no Fill (X) set and Stroke (X) color set as #000000, select the Line Segment Tool (\). Create a straight vertical line about 5px inside the left side of the shape. Make sure the height of the line is within the inside of the shape. Create another line on the right side of the shape.
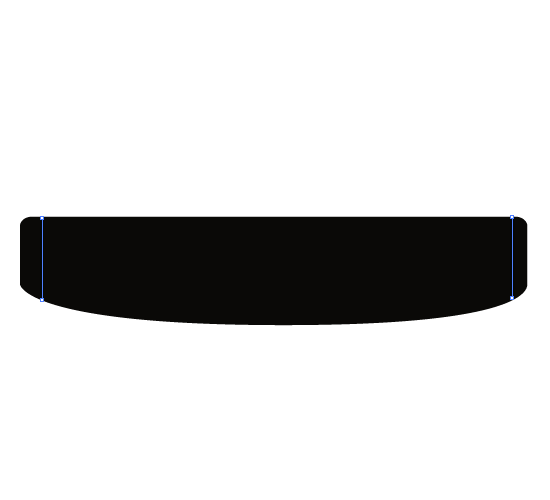
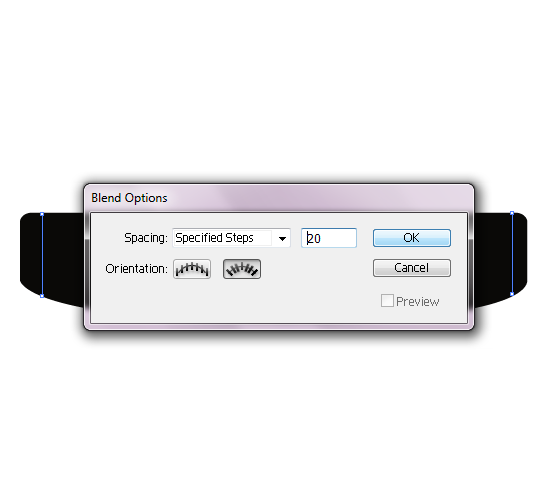
Double-click on the Blend Tool (W) to open up the options box. Choose Specified Steps as the spacing and 20 as the number of steps. Keep the orientation as default. Click OK.
In the Object menu, go to the Blend submenu and click Make.
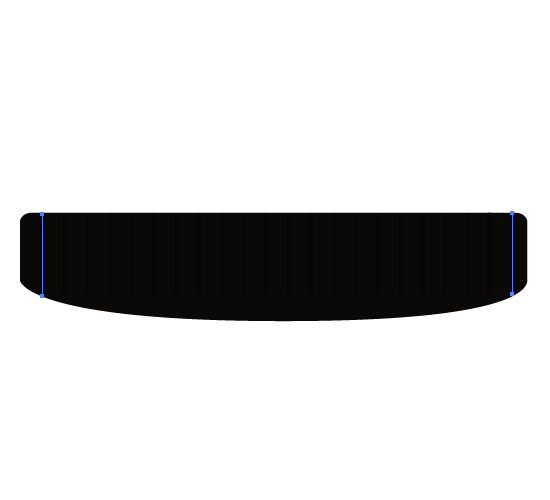
Back in the Blend submenu, click on Expand. In the Object menu, click Ungroup. This will make each line separate entity.
Using the Selection Tool (V), select each line and adjust the height to fit fully in the shape.
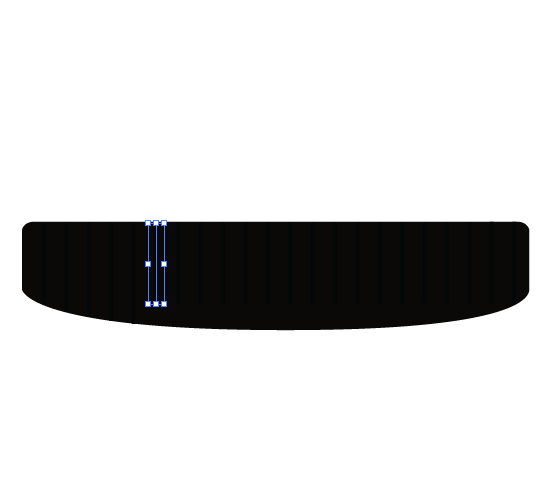
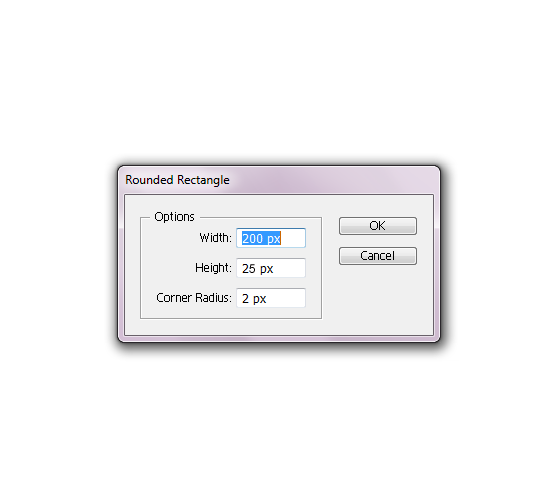
Set the Fill (X) color to #0B0907 with no Stroke (X). Select the Rounded Rectangular Tool and click to the immediate top-right side of the shape. The Rounded Rectangular Tool options box will open. Set the width to 200px, height to 25px, and corner-radius to 2px.
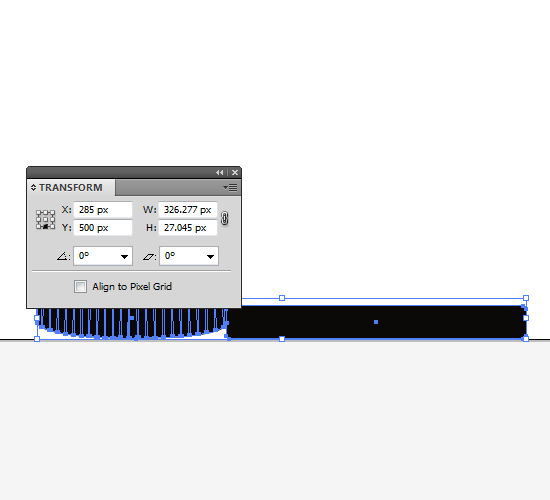
Select both shapes and open the Transform Panel. Click the bottom-middle Reference Point (the box grid to the left of the X and Y) and set the X-value to 285px and the Y-value to 500px.
In the Layers Panel, create a new layer. Rename the layer to Camera and set your choice of layer color.
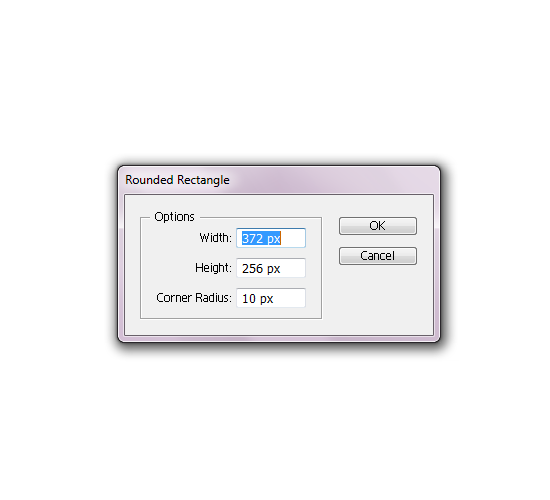
Set the Fill (X) color to #E2E2E2 with no Stroke (X). Select the Rounded Rectangular Tool and click anywhere on the artboard to open options box. Set the width to 372px, the height to 256px, and corner-radius to 10px.
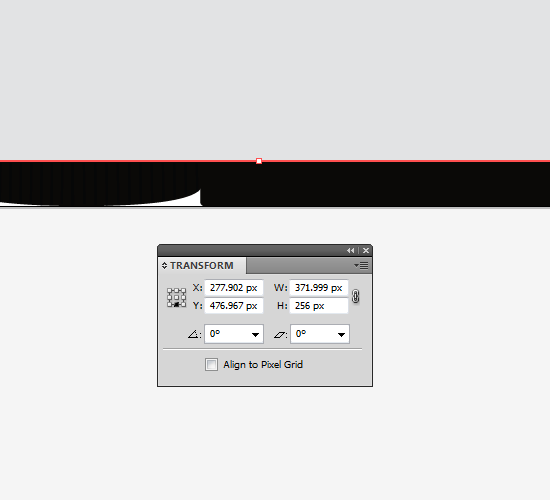
Open the Transform Panel. Set the X-value to 277.902px and the Y-value to 476.967px.
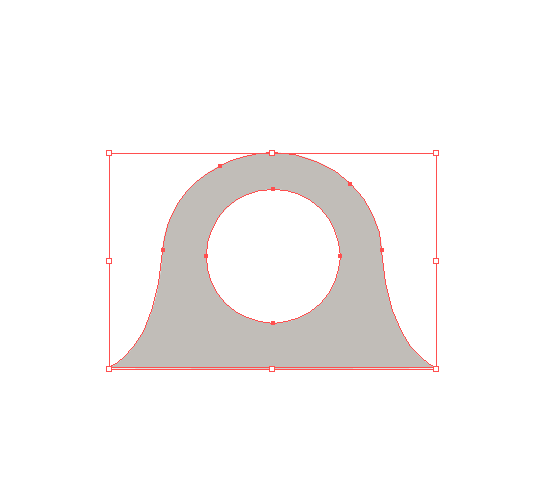
Set the Fill (X) color to #C1BDB8 with no Stroke (X). Using the Pen Tool (P), create an upside-down parabola-like shape kind of like the ghosts on PAC MAN video game. Width of 44px and height of 29px.

Slightly in the middle of the PAC MAN ghost shape, create a circle that is 18px by 18px.
Select both PAC MAN ghost shape and circle. Open the Pathfinder panel and click on Minus Front button. This will subtract the circle from the shape.
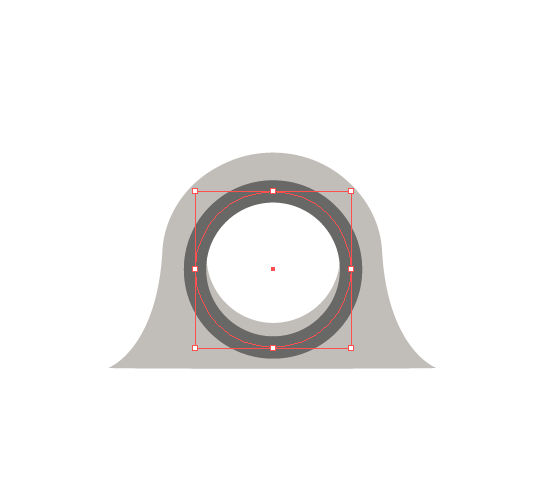
The Fill (X) color should be set to none and the Stroke (X) color should be set to #686766 with a stroke weight set to 3px. Create a circle shape that is 21px by 21px. Place it parallel to the subtracted circle shape, but approximately 0.6px below the Y-value.
In the Object menu, select the Arrange submenu and then click on Send to Back. Select both shapes and group the two together (Object>Group).
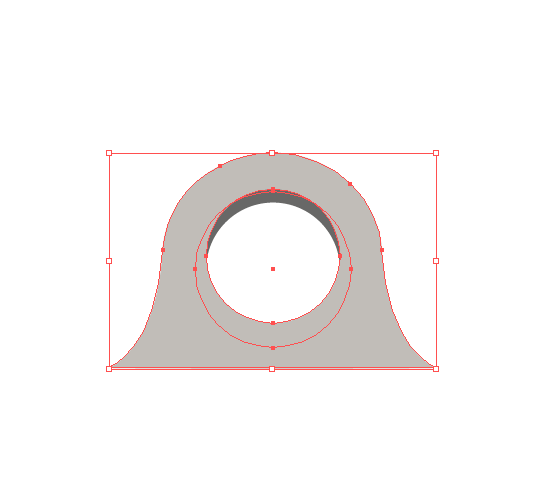
Select the grouped object, and open the Tranform Panel to rotate it 90°. With the grouped object still selected Sent to Back (Object>Arrange>Sent to Back).
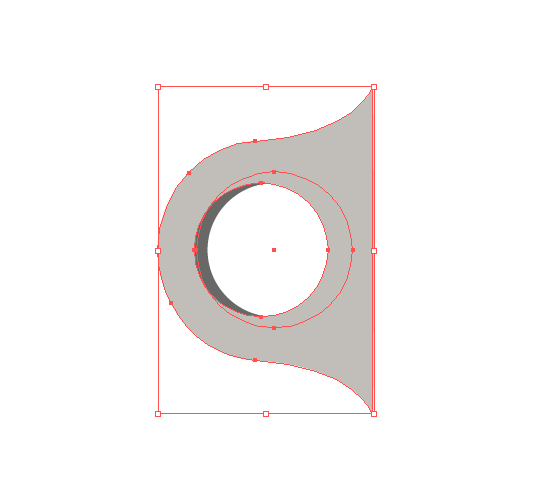
In the Transform panel, set X-value to 81px and the Y-value to 268px.
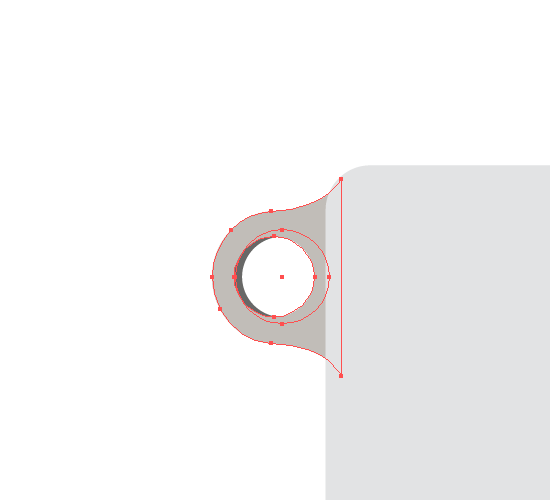
Copy the shape, and paste in back (Edit>Paste in Back). In the Transform panel, rotate 180°. Move the X-value to 478px and the Y-value to 273px.
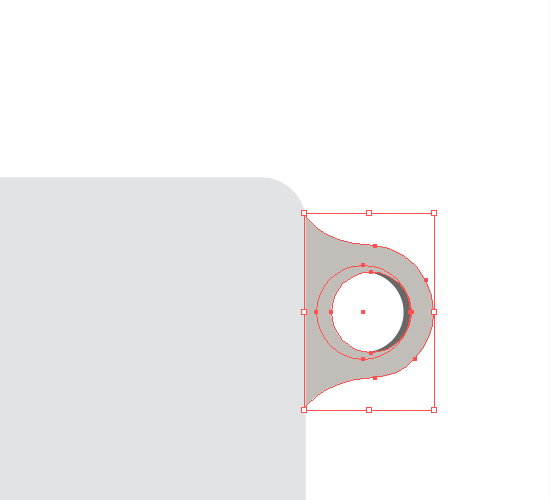
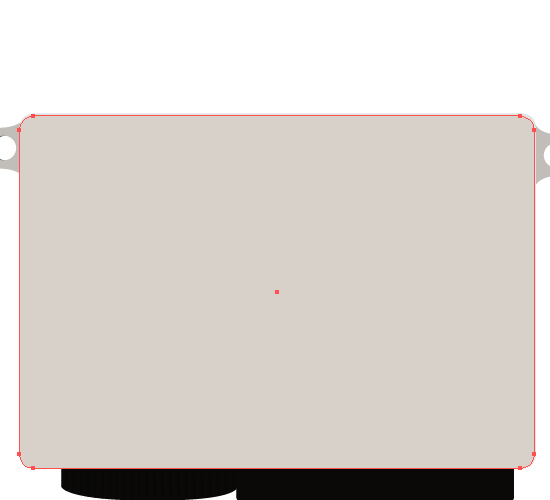
Set the Fill (X) color to #D7D0C8 with no Stroke (X). Select the Rounded Rectangular Tool and click anywhere on the artboard to open options box. Set the width to 372px, the height to 256px, and corner-radius to 10px.
Open the Transform Panel. Set the X-value to 277.198px and the Y-value to 476.744px.
Coming up in Part Two: Tackling the Mesh Tool!
Vintage Camera Tutorial (Part 2) | Vintage Camera Tutorial (Part 3)

