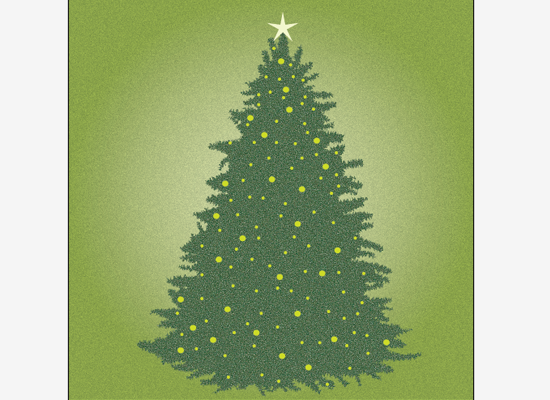
As Christmas approaches, what better tutorial than to create a Christmas tree? This is perfect for holiday gift cards, ecards, wrapping, stickers, etc. It’s quite simple and not so time consuming.
Using CS5 version of Illustrator, but any version of the CS may be used to create this tutorial.
For the purpose of this tutorial, the artboard dimensions are set to 500px width by 500px height.
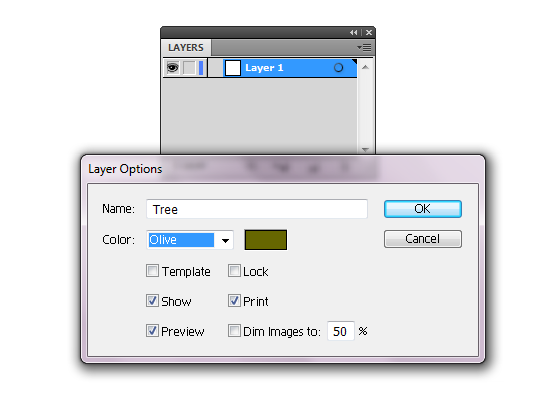
Let’s first begin with the organizing. In the layer box, double-click on Layer 1 to open the Layer Options. Rename the layer from Layer 1 to Tree and set the color.
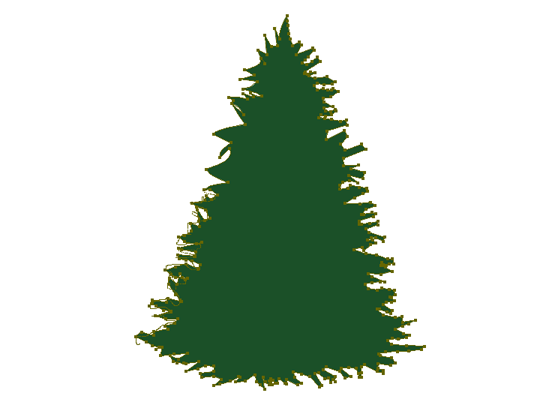
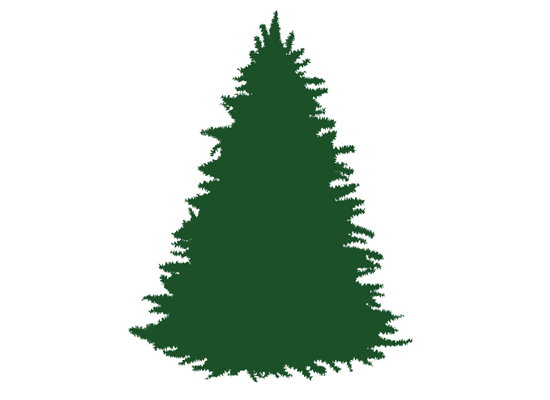
Set the main color to #1B5028 with no stoke color. Using the the Pen Tool (P), create a triangle with jagged edges to look like branches. It should be approximately 250px width by 400px height. Don’t worry about making it look too perfect as we will iron out the kinks later. No drawing ability needed.
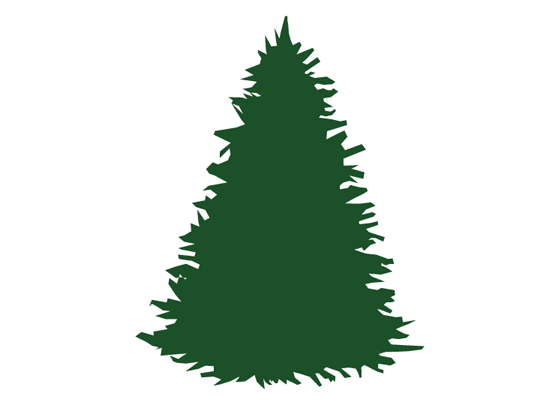
With the Smooth Tool selected, go around the edges of the tree and clean up the unflattering corners of the tree.
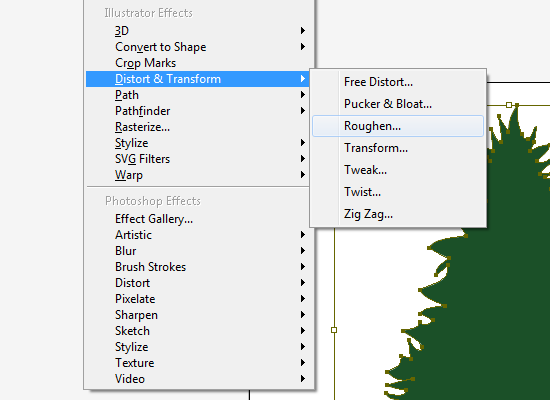
In the Effects menu, choose Distort & Transform and then the Roughen option.
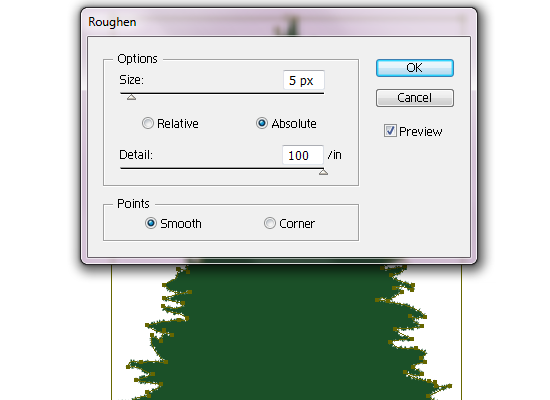
Pick Absolute option with a size of 5px and detail set to 100. The points should be Smooth.
To give more detail, the Wrinkle Tool will be used. Double-click on the Winkle Tool to set the options. Place the size of the tool to 40px by 40px, the angle set at 3, the intensity to 50%, the horizontal should be 40% and the vertical should be 10%, complexity to 15, and the detail to 10.
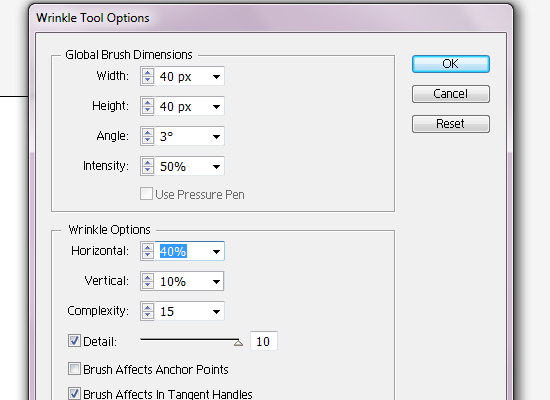
This option should be set for horizontal branches. Click on the edges of the horizontal branches to give the pins more depth.
Now on to the vertical branches, which are pretty much the top and bottom branches of the tree. Double-click on the Winkle Tool to set the vertical options. The only change you need to make is to the horizontal and vertical areas. Leave every other option as is. Set the horizontal to 0% and the vertical to 60%. Go over the edges of the top and bottom branches of the tree with the Wrinkle Tool. Put most attention on top branch.
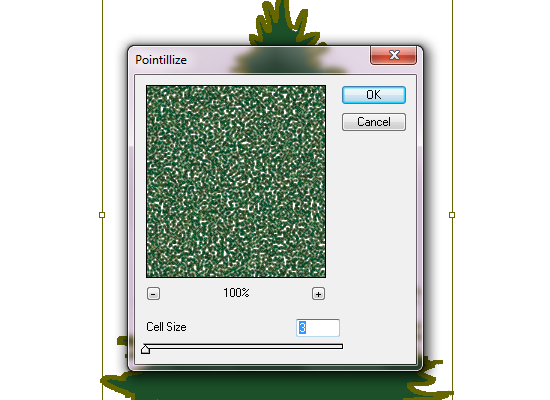
With the tree selected, go to the Effects menu to give the tree a texture and choose Pointillize found under the Pixelate submenu. Set the cell size to 3 and hit OK.
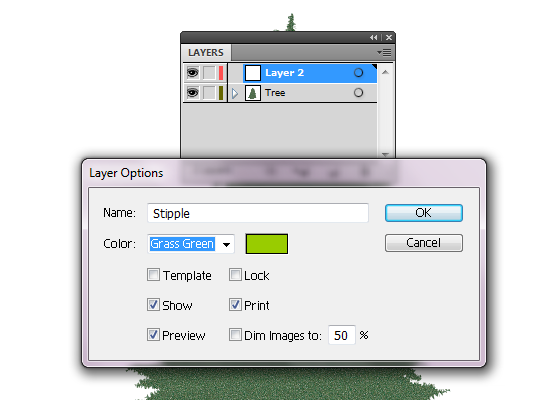
The tree is done, but it needs some lights and ornaments. First, go to the layers and create new. Name the box Stipple and set a color that is separate from the tree. Make sure the Stipple layer is above the Tree layer.
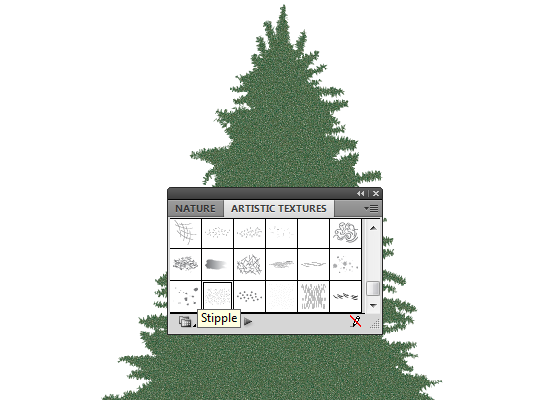
Under the Symbols tool box, locate the Artistic Textures. Find the Stipple symbol. Drag the Stipple symbol on to the artboard.
At the top, click the Break Link button, which will allow you to change the colors of the symbol. Set the color to #CDDC29. Now, need to resize and rotate the Stipple. In the Transform box, make sure the height and width are linked and set the height to 250px and rotate to 90 Degrees.
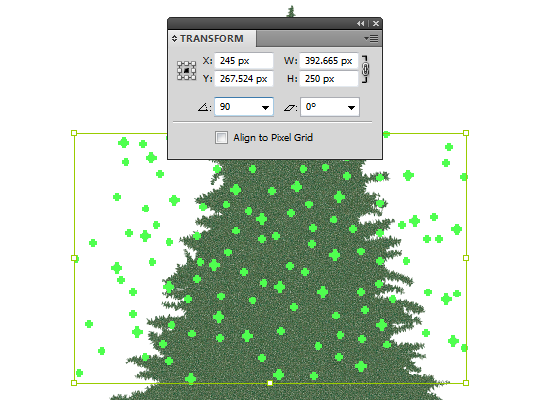
Under Object menu, click on Ungroup. Some of the Stipples are outside of the tree and must be situated in empty areas inside the tree.
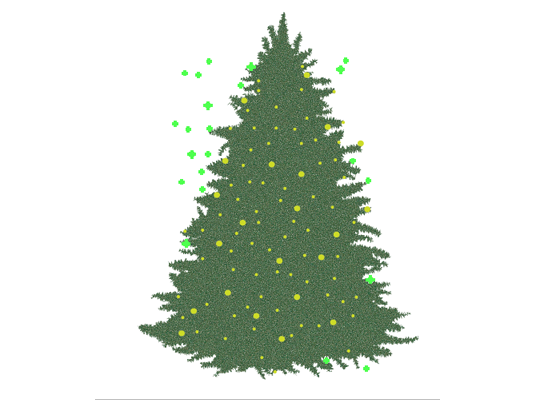
Create a new layer and name it Star. Designate a separate color for the new layer. Set the color to #F2F5CD. Select the Star Tool. Click at the top of the tree for the option menu. Set the first radius to 5px and the second radius to 20px with 5 points.
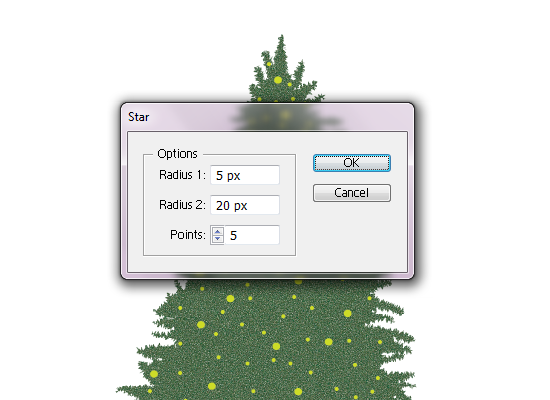
The star may be upside-down, and you will need to rotate it 180 degrees in the transform menu.
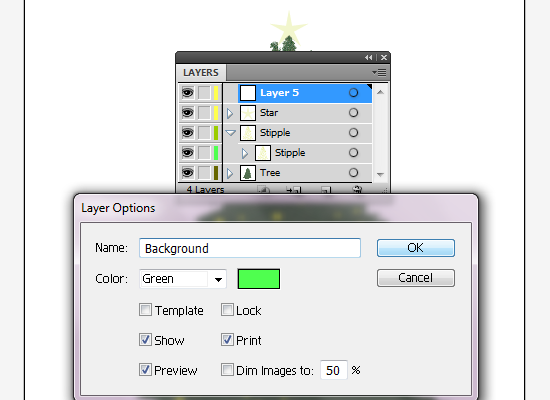
Open a new layer. Name it Background and give the layer a color that is unlike the other layers. Make sure that the Background layer is underneath the Tree layer on the list.
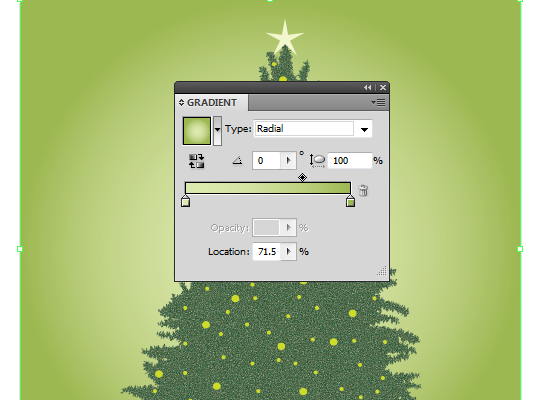
With no colors selected, choose the Rectangular Tool (M). Click on the top left corner of the artboard. Set the size to 500px by 500px. Go to the Gradient menu, choose the Radial option in the drop down. It should go to the default colors of black and white. Double-click on the white then set the color to #DCE9AE or C=15, M=0, Y=40, K=0. Double-click on the black then set the color to #9CB850 or C=44, M=12, Y=88, K=0. The location should be set to 71.5%.
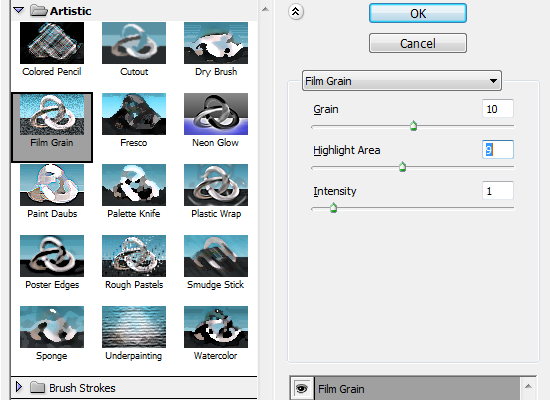
Under Effects menu, choose the Film Grain option in the Artistic submenu. Choose 10 for the grain, 9 for highlight area, and 1 for intensity.
